ROS2-常用工具
一、命令行工具ROS2CLI
根据命令ros2 -h可查看ROS2CLI可用命令,ros2 <command> -h可查看对应命令的参数和用法
usage: ros2 [-h] [--use-python-default-buffering] Call `ros2 <command> -h` for more detailed usage. ...

ros2 is an extensible command-line tool for ROS 2.

options:
  -h, --help            show this help message and exit
  --use-python-default-buffering
                        Do not force line buffering in stdout and instead use the python default buffering, which
                        might be affected by PYTHONUNBUFFERED/-u and depends on whatever stdout is interactive or not

Commands:
  action     Various action related sub-commands
  bag        Various rosbag related sub-commands
  component  Various component related sub-commands
  daemon     Various daemon related sub-commands
  doctor     Check ROS setup and other potential issues
  interface  Show information about ROS interfaces
  launch     Run a launch file
  lifecycle  Various lifecycle related sub-commands
  multicast  Various multicast related sub-commands
  node       Various node related sub-commands
  param      Various param related sub-commands
  pkg        Various package related sub-commands
  plugin     Various plugin related sub-commands
  run        Run a package specific executable
  security   Various security related sub-commands
  service    Various service related sub-commands
  topic      Various topic related sub-commands
  wtf        Use `wtf` as alias to `doctor`

  Call `ros2 <command> -h` for more detailed usage.
二、启动工具Launch
1. 介绍
对于复杂系统,逐个开启终端并输入 ros2 run和一堆参数来启动节点并不是一个好选择,为此ROS2提供了launch文件来组织节点的配置和启动
launch文件有三种格式:Python、xml、yaml。ROS2官方推荐使用Python编写launch。
2. 使用Python编写Launch
本小节编写launch来组织启动之前在动作编程中编写的两个节点
- 创建功能包和launch文件
# 创建功能包
mkdir -p example_launch
cd example_launch
ros2 pkg create robot_startup --build-type ament_python --destination-directory src
# 创建launch
mkdir -p src/robot_startup/launch
touch src/robot_startup/launch/example_action.launch.py
现在的目录结构类似:
ROS2
├── example_launch
│   └── src
│       └── robot_startup
│           ├── launch
│           │   └── example_action.launch.py
│           ├── setup.py
│          ...
├── example_action
...
- 编辑
example_action.launch.py:
# 导入库
from launch import LaunchDescription
from launch_ros.actions import Node

def generate_launch_description():
    """launch内容描述函数,由ros2 launch 扫描调用"""
    action_robot = Node(
        package="example_action_rclpy",
        executable="action_robot"
    )
    action_control = Node(
        package="example_action_rclpy",
        executable="action_control"
    )
    # 创建LaunchDescription对象launch_description,用于描述launch文件
    launch_description = LaunchDescription(
        [action_robot, action_control]
    )
    # 返回描述
    return launch_description
launch文件的核心是 generate_launch_description函数,ROS2会扫描launch文件并调用这个函数来获取launch的内容。在这个函数中,我们创建了两个Node对象,分别对应之前编写的两个节点,并将它们添加到LaunchDescription对象中,最后返回这个对象。
- 声明Launch
若现在直接编译会发现install目录下没有launch文件。
对于ament_python类型的功能包,需要在 setup.py中声明launch文件:
from setuptools import find_packages, setup
import os
from glob import glob

package_name = 'robot_startup'

setup(
    name=package_name,
    version='0.0.0',
    packages=find_packages(exclude=['test']),
    data_files=[
        ('share/ament_index/resource_index/packages',
            ['resource/' + package_name]),
        ('share/' + package_name, ['package.xml']),
        (os.path.join('share', package_name, 'launch'), glob('launch/*.launch.py')) # 声明launch文件
    ],
    ... # 省略其他内容
)
即将launch目录下的所有.launch.py文件添加到data_files中,并指定安装路径为 share/robot_startup/launch
- 编译
robot_startup包:
# example_launch目录下
colcon build --packages-select robot_startup
现在install目录下应该有launch文件:
example_launch/install/robot_startup/share/robot_startup/launch/example_action.launch.py
- 启动Launch
为了找到launch文件和节点文件,需要同时source两个功能包环境:robot_startup和example_action_rclpy,它们分别在example_launch和example_action目录下:
# 工作空间目录下
source example_launch/install/setup.bash
source example_action/install/setup.bash
# 运行launch
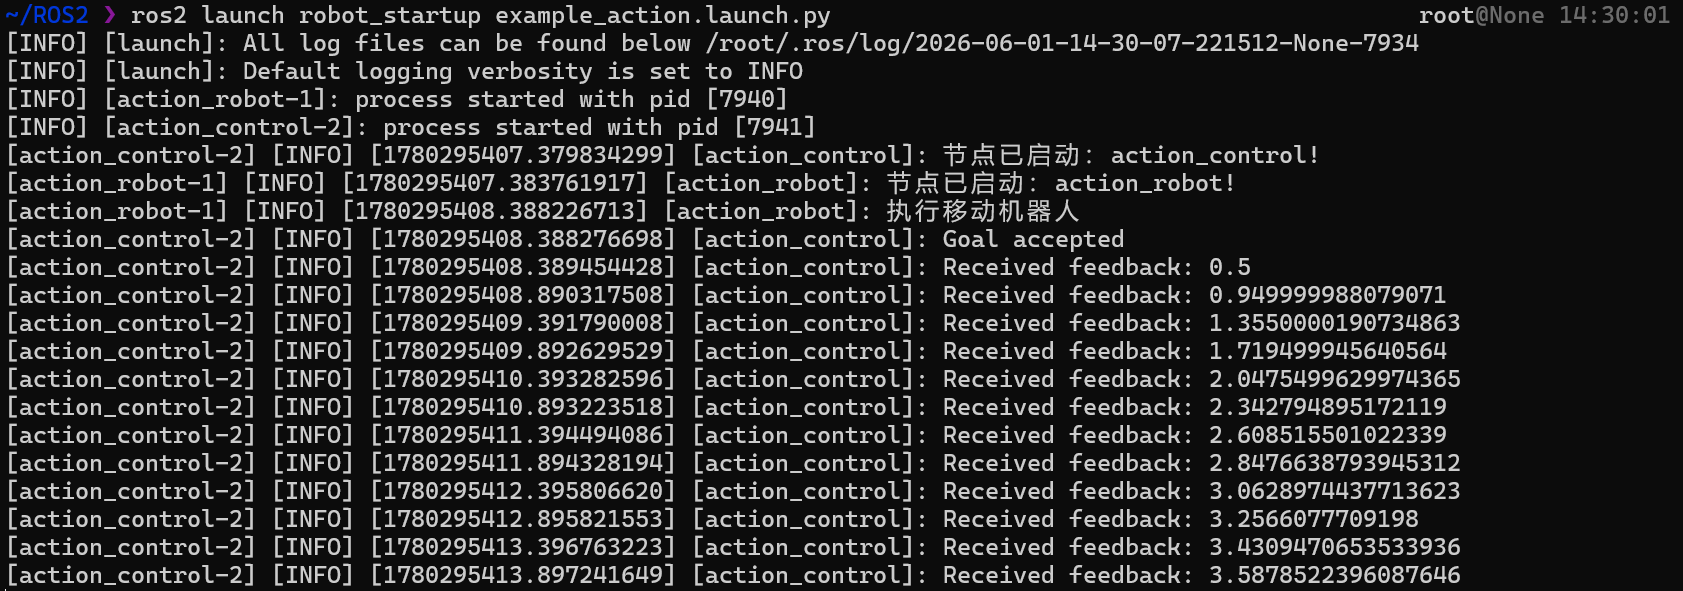
ros2 launch robot_startup example_action.launch.py
可看到两个节点的输出:
- 添加Launch参数&修改命名空间
新建一个launch文件来使用不同参数启动在之前参数编程中编写的节点
在之前的launch文件的同目录下创建 example_param.launch.py,内容如下:
# 导入库
from launch import LaunchDescription
from launch_ros.actions import Node

def generate_launch_description():
    """launch内容描述函数,由ros2 launch 扫描调用"""
    parameters_basic1 = Node(
        package="example_parameters_rclpy",
        namespace="rclpy",
        executable="parameters_basic",
        parameters=[{'rcl_log_level': 40}] # ERROR
    )
    parameters_basic2 = Node(
        package="example_parameters_rclpy",
        namespace="rclpy",
        executable="parameters_basic",
        parameters=[{'rcl_log_level': 50}] # FATAL
    )
    # 创建LaunchDescription对象launch_description,用于描述launch文件
    launch_description = LaunchDescription(
        [parameters_basic1, parameters_basic2]
    )
    # 返回描述
    return launch_description
即直接传给节点的parameters参数和namespace参数即可
之前已经设置了setup.py,直接编译
# example_launch目录下
colcon build --packages-select robot_startup
之后启动launch:
# 工作空间目录下
source example_launch/install/setup.bash
source example_param/install/setup.bash
ros2 launch robot_startup example_param.launch.py
可见parameters_basic-2节点只输出FATAL级别的日志,而parameters_basic-1节点输出ERROR和FATAL级别的日志,且它们的命名空间都为rclpy([rclpy.parameters_basic]):

三、数据可视化工具RVIZ2
RVIZ2 (ROS Visualization Tool 2)是ROS2中常用的数据可视化工具,对于不同的数据,可以使用插件直观地显示出来,如果没有你的数据对应的插件,也可以自己编写插件来显示数据。
通过命令
rviz2
即可打开RVIZ2界面,默认显示如下:
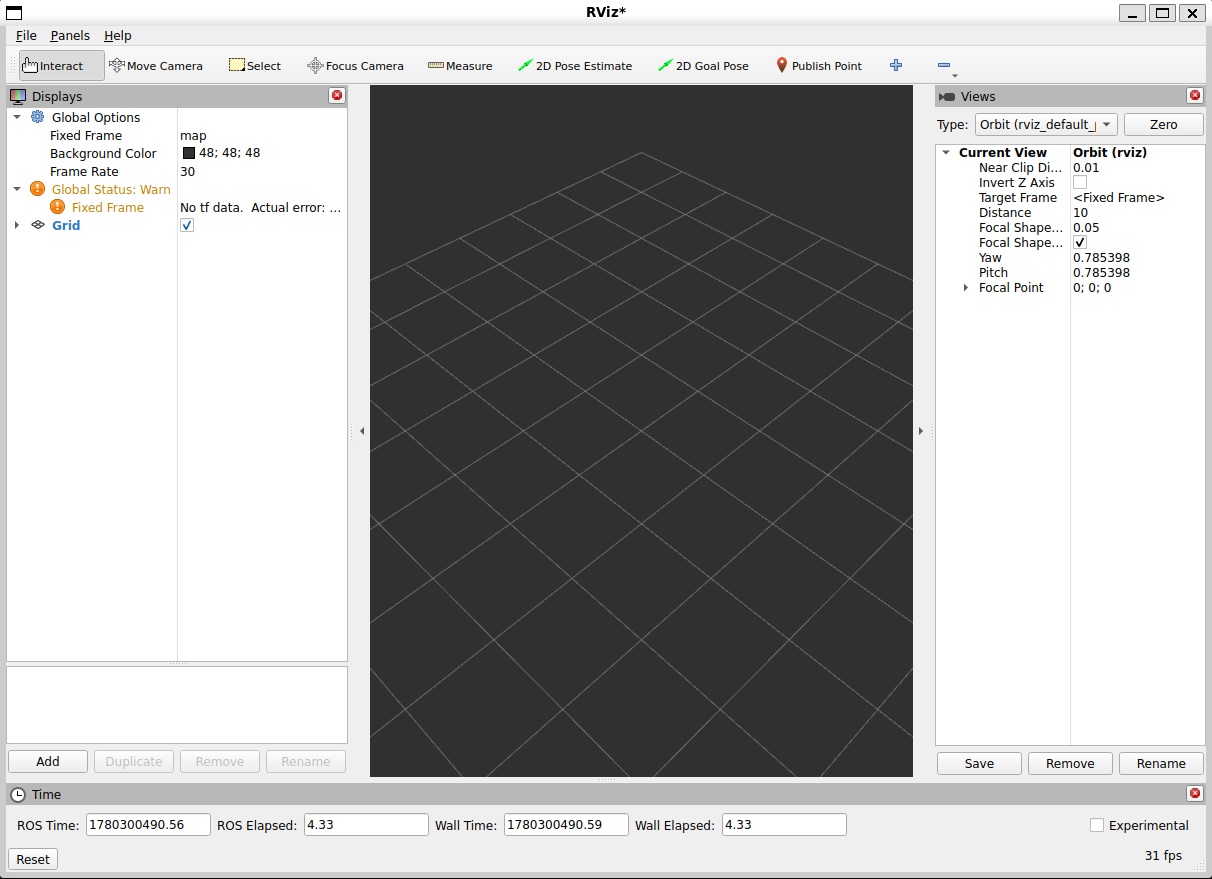
大多数插件与坐标相关,需要配合后续机器人学和URDF建模使用
四、常用调试工具RQT
RQT(ROS Qt-based framework)是一个GUI框架,通过插件的方式提供了很多界面工具
启动命令:
rqt
默认界面如下:
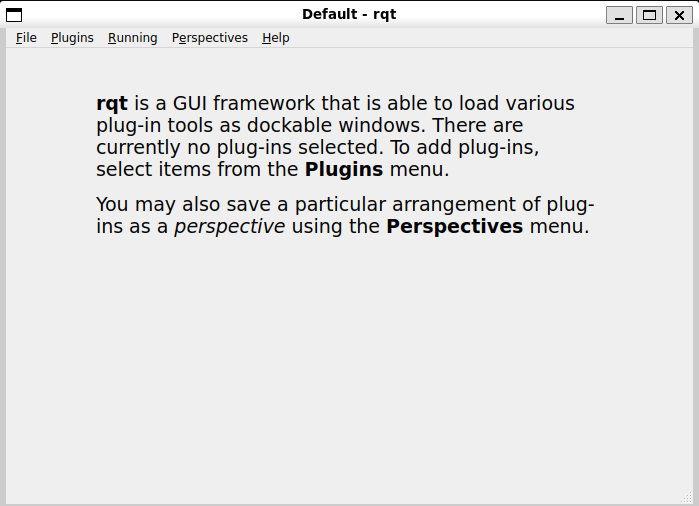
在Plugins菜单栏中可以看到四大通信组件相关的工具都有:话题(Topics)、服务(Services)、参数(Configuration)和动作(Actions),以及一些可视化(Visualization)、日志(Logging)等工具
五、记录工具rosbag2
rosbag2是ROS2中用于记录和回放数据的工具,可以记录话题、服务、参数等数据,后续无需启动节点即可直接发布bag文件中的数据,方便调试和测试
打开终端A、B:
终端A运行一个话题talker:
ros2 run demo_nodes_cpp talker
终端B记录talker发布的话题数据:
# ros2 bag record <topic_name>
ros2 bag record /chatter
# 记录/chatter话题的数据
一些record选项:-a记录所有(all)话题、-o name自定义输出(output)文件,-s {mcap,sqlite3}存储(storage)格式
一段时间后,停止记录(Ctrl+C),会在当前目录下生成一个bag文件夹,里面包含了记录的数据:
rosbag2_2026_06_01-18_59_02
├── metadata.yaml
└── rosbag2_2026_06_01-18_59_02_0.mcap
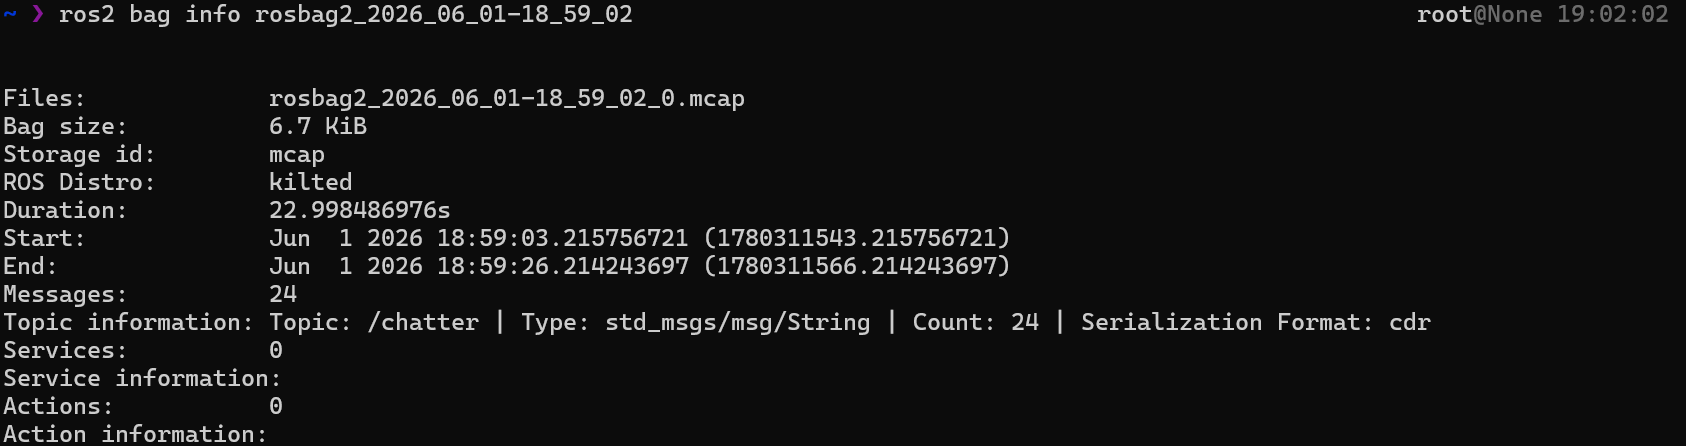
查看bag信息
# ros2 bag info <bag_file>
ros2 bag info rosbag2_2026_06_01-18_59_02
一终端使用topic echo查看回放的数据
ros2 topic echo /chatter
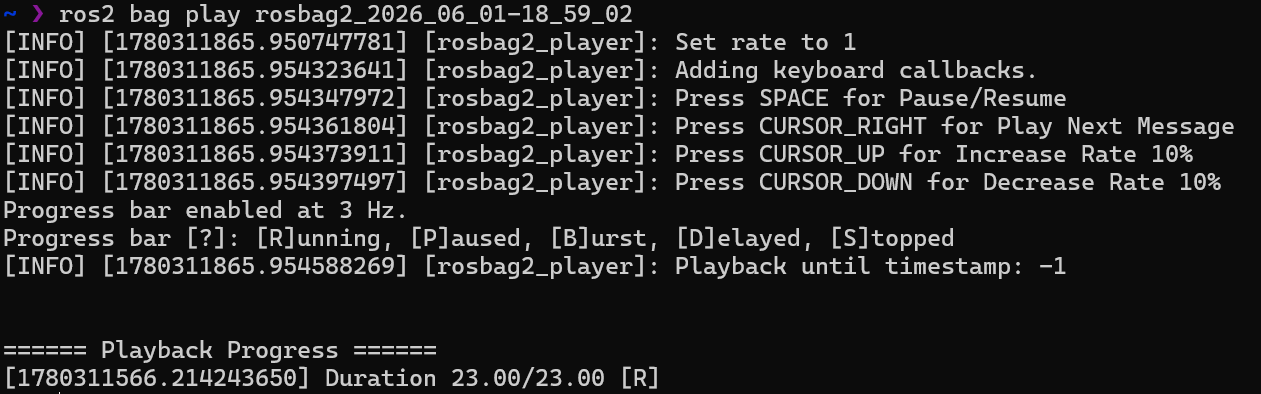
另一终端回放bag数据
# ros2 bag play <bag_file>
ros2 bag play rosbag2_2026_06_01-18_59_02
一些play选项:-r RATE设置回放速度(rate),-l循环(loop)回放,--topics TOPIC只播放其中的单个话题
六、数据仿真工具Gazebo
相较于RVIZ2的可视化展示数据,Gazebo是用于模拟和产生数据的。
Gazebo是一个独立的仿真应用程序,不依赖ROS运行。ROS2通过包与Gazebo集成。
ROS与Gazebo的版本兼容性如下:
| ROS 2 Distribution | GZ Fortress (LTS) | GZ Harmonic (LTS) | Gz Ionic | Gz Jetty (LTS) |
|---|---|---|---|---|
| ROS 2 Rolling | ❌ | ⚡ | ⚡ | ✅ |
| ROS 2 Lyrical (LTS) | ❌ | ⚡ | ⚡ | ✅ |
| ROS 2 Kilted | ❌ | ⚡ | ✅ | ❌ |
| ROS 2 Jazzy (LTS) | ❌ | ✅ | ❌ | ❌ |
| ROS 2 Humble (LTS) | ✅ | ⚡ | ❌ | ❌ |
安装Gazebo:
# 1.安装Gazebo
# 添加Gazebo的apt源
sudo curl https://packages.osrfoundation.org/gazebo.gpg --output /usr/share/keyrings/pkgs-osrf-archive-keyring.gpg
echo "deb [arch=$(dpkg --print-architecture) signed-by=/usr/share/keyrings/pkgs-osrf-archive-keyring.gpg] https://packages.osrfoundation.org/gazebo/ubuntu-stable $(lsb_release -cs) main" | sudo tee /etc/apt/sources.list.d/gazebo-stable.list > /dev/null
# 更新apt源并安装Gazebo(ionic)
sudo apt update
sudo apt install gz-ionic
# 2.安装ROS2(kilted)与Gazebo的集成包
# sudo apt install ros-${ROS_DISTRO}-ros-gz
sudo apt install ros-kilted-ros-gz
ROS2与Gazebo的集成使用例子:ros_gz_sim_demos
以Gazebo小车模拟为例:
新建两个终端A、B:
终端A启动Gazebo的小车demo:
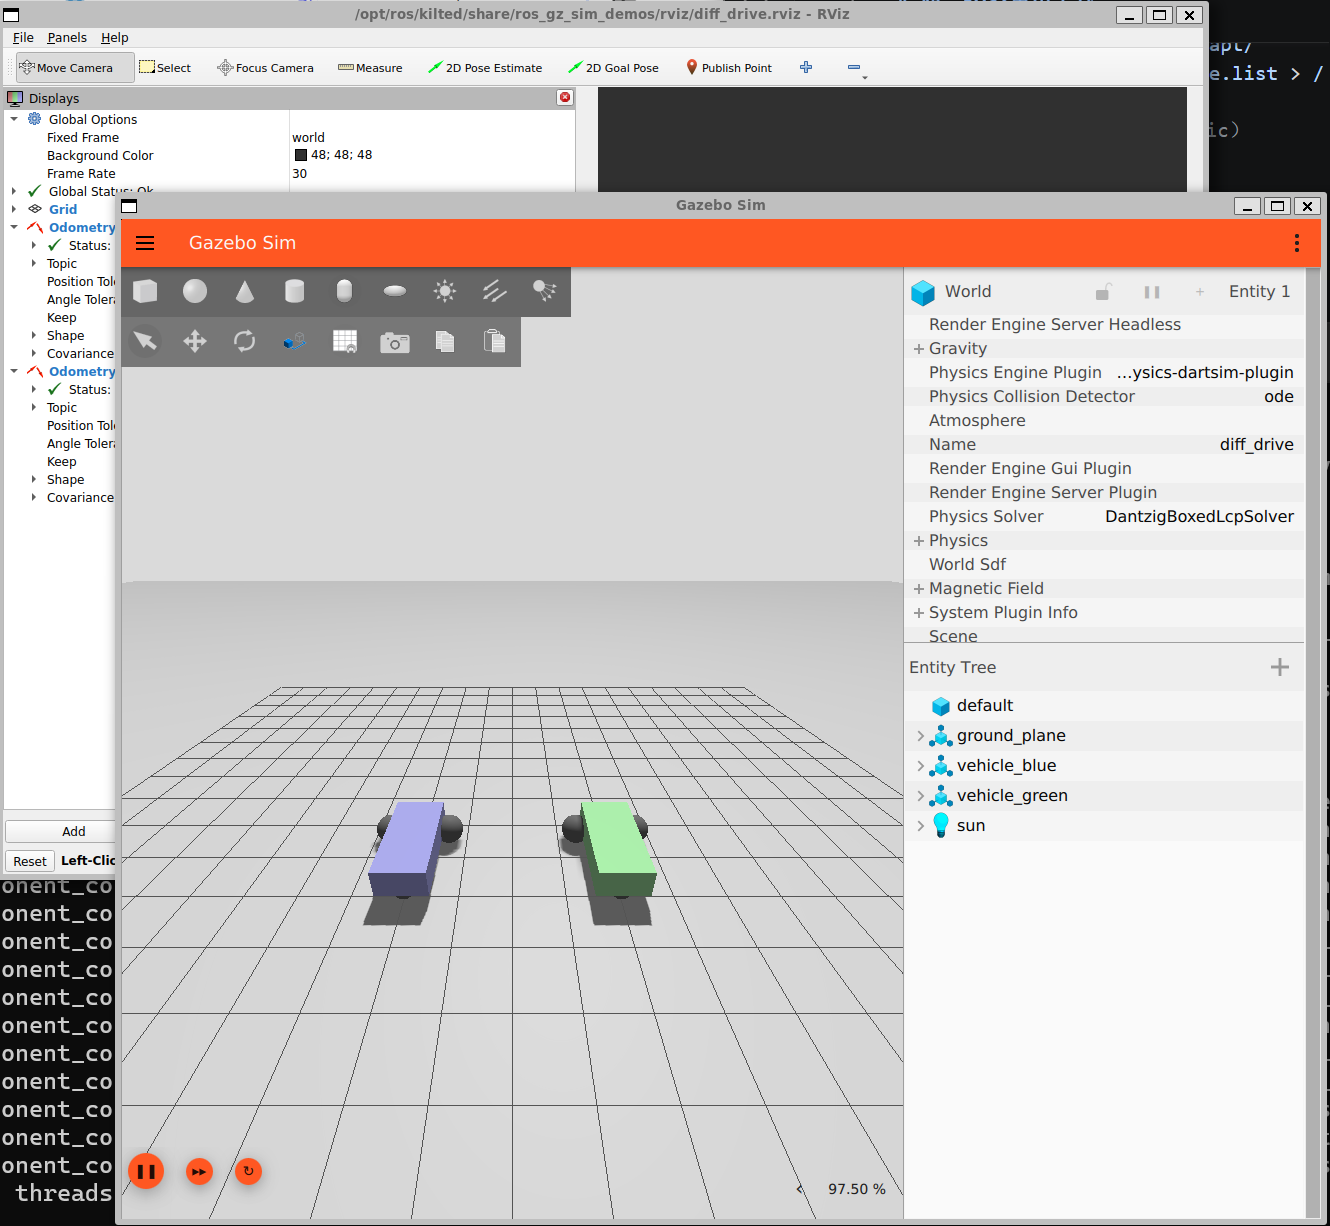
ros2 launch ros_gz_sim_demos diff_drive.launch.xml
ros在launch gazebo sim demo时,会通过ros_gz_bridge将Gazebo的消息转换为ROS2消息,ROS2消息转换为Gazebo消息,由此实现双方通信
会出现两辆小车的Gazebo Sim界面:
终端B进行话题操作:
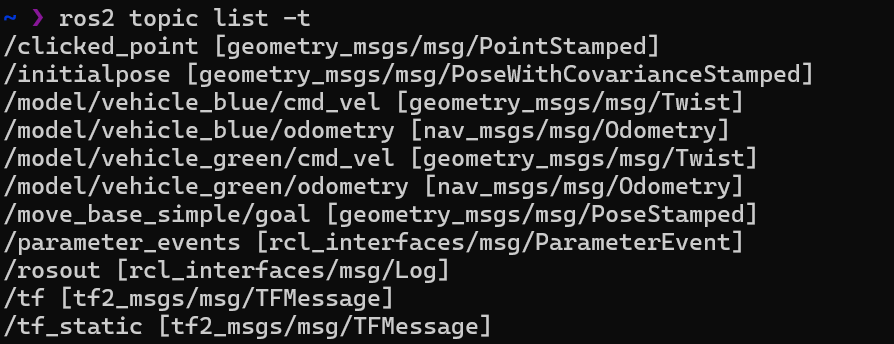
- 查看小车发布的话题
ros2 topic list -t
可看到一些Gazebo相关的话题,其中蓝色小车的速度控制话题/model/vehicle_blue/cmd_vel的消息类型为geometry_msgs/msg/Twist:
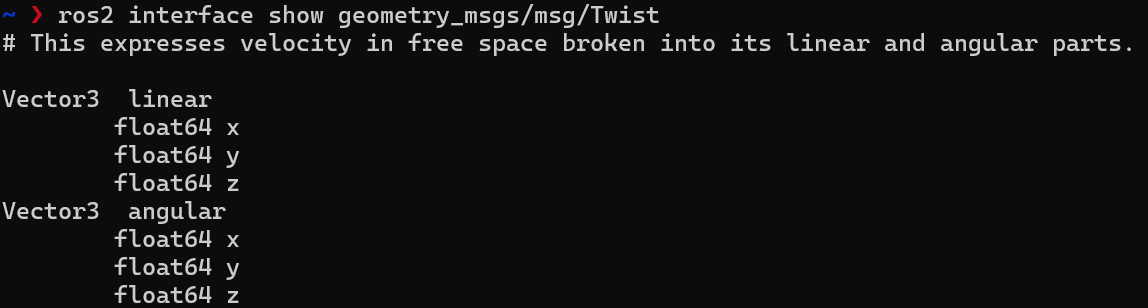
- 查看其数据结构
ros2 interface show geometry_msgs/msg/Twist
- 发布速度控制消息让小车动起来
ros2 topic pub /model/vehicle_blue/cmd_vel geometry_msgs/msg/Twist "{linear: {x: 5.0}, angular: {z: 0.5}}"
Gazebo Sim界面中蓝色小车就会以线速度5.0和角速度0.5的速度旋转:

留言